
A well-executed video tour can make all the difference when showcasing your property. With the widespread accessibility of smartphones and user-friendly editing software, anyone can produce a professional-looking video tour with some planning and creativity.
This comprehensive guide will share the essential steps and techniques to help film a great video tour of your property. From pre-production preparations to filming strategies and post-production editing tips, we'll cover everything you need to know to captivate your audience and effectively showcase your space.
Let's get started!
Benefits of Filming a Video Tour
Filming a video tour of your property can be a game-changer in today's real estate market, offering many benefits that can significantly enhance your property listing. Here's a detailed look at why creating a video tour is essential:
- Attract More Qualified Leads: A video tour allows potential buyers to get a comprehensive feel for your property without scheduling an in-person visit. This can save you time and effort by filtering out those who aren't interested.
- Increase Engagement and Interest: Videos are inherently more engaging than static photos, leading potential buyers to spend more time exploring your property listing and its features.
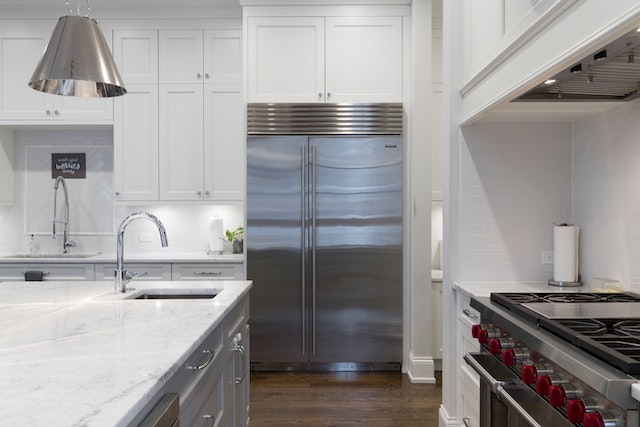
- Showcase Unique Features: A video tour can effectively highlight specific features of your property that you might not be able to fully capture in photos, such as natural light, flow between rooms, or unique architectural details.
- Stand Out from the Competition: In a crowded market, a well-made video tour can help your listing stand out and capture attention.
- Increase Website Traffic and Listing Views: Listings with video tours tend to receive more views and clicks than those with only photos. This can boost your overall online presence and reach a wider audience.
Tips to Film a Great Video Tour Of Your Property
Filming a great video tour involves careful planning, attention to detail, and proper techniques. Here are some tips to help you create a compelling and professional-looking video tour of your property:
- Plan Your Shots: Before filming, create a shot list outlining the specific areas and features of the property you want to capture. This will help you stay organized and avoid missing anything important.
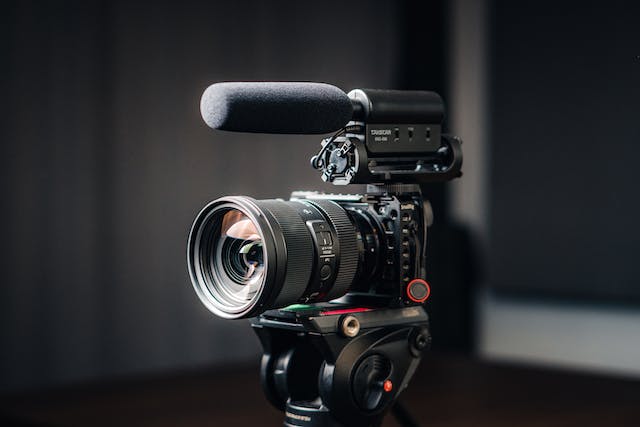
- Use a Tripod: Stability is critical to producing professional-looking footage. Use a tripod to keep your shots steady and eliminate shaky footage. This is especially important when filming interior spaces or capturing slow pans and tilts.
- Control Your Exposure: Proper exposure is crucial for producing high-quality footage. Use manual exposure settings on your camera to adjust the aperture, shutter speed, and ISO to achieve the desired brightness and depth of field. Avoid overexposed highlights and underexposed shadows by balancing your exposure settings.
- Optimize Lighting: Good lighting is essential for capturing clear and vibrant footage. When filming indoors, use natural light and supplement it with artificial lighting. Avoid harsh shadows by diffusing light sources or adjusting their intensity.
- Capture Smooth Camera Movements: Invest in a quality camera stabilizer or gimbal to achieve smooth camera movements. Practice walking steadily and panning or tilting the camera smoothly to create cinematic shots. Experiment with different movement speeds and angles to add variety to your footage.
- Mind Your Framing: Make sure your video has a pleasing composition by paying attention to the framing. For a better balanced composition, place important scene pieces off-center by using the rule of thirds. Aim for interesting angles and viewpoints rather than centering the horizon line on the frame.
- Use Different Angles: Experiment with different camera angles to capture the property from various perspectives. This can add visual interest to your video tour and give viewers a better sense of the space.
- Showcase Key Features: Highlight the property's unique features and selling points in your video tour. Focus on capturing details such as architectural elements, fixtures, finishes, and amenities that set the property apart and make selling easier.
- Maintain a Consistent Pace: Keep the pace of your video tour consistent to maintain viewer engagement. Avoid lingering too long on any area; aim for a smooth and natural flow from one room to the next. Use editing techniques such as crossfades or jump cuts to streamline transitions between scenes.
- Include Contextual Shots: Provide context for the property by including exterior shots, surrounding landscapes, and neighborhood amenities in your video tour. This helps viewers understand the property's location and surroundings, enhancing its appeal.
- Edit Thoughtfully: Consider thoughtfully editing your footage to create a polished final product. Trim any unnecessary footage, adjust colors and exposure as needed, and add text overlays or graphics to enhance information. Pay attention to audio quality and consider adding background music to enhance the viewing experience.
- Optimize for Online Viewing: Optimize your video tour for online viewing by ensuring it is formatted correctly for the platform you intend to use. This may include adjusting the aspect ratio, resolution, and file format.
Final Words
Creating a great video tour of your property can significantly enhance your marketing efforts and attract more potential buyers or tenants.
Remember, the goal of your video tour is to engage viewers and entice them to learn more about your property. By investing time and effort into filming and editing a high-quality video, you can increase your chances of a successful sale or rental.
Are you ready to create an exceptional video tour for your property? Contact Rockbridge Real Estate today to get started and take your property marketing to the next level.